quinta-feira, 28 de abril de 2016

After the construction of the padded panels, and seats, today was the day to fix on their sites, as you can appreciate the panels behind the front corners are round, which makes it very difficult to build because they are vulnerable to the holes for the buttons and lines, what happened to me have broken the first panels, to try to force them to bow. however given the first layer of paint, to tune the doors at the end will take two more layers, finally, is really painting the most thankless part to do, but will have to be made, here I leave some photos of the panels and seats almost completed, I hope you enjoy and appreciate this work.

sábado, 23 de abril de 2016

Final construction of the panels and seats. finally those parts of the carriage are practically completed, there are 15 panels and three seats, however will only be fixed into place after painting made so as to not damage or get ink on the panels and seats today gave a first ink layer yellow, but frankly ran me very badly, painting is the most thankless part to do, because there is no mathematical formula to make this work, where time itself has some influence, though I already be familiar with the inks tamiya that I think are the best quality, there are many factors that must be very well combined so that everything goes well, the air pressure, typically 2 bar, the mixture with solvent, temperature, airbrush clogging, and distance between the airbrush and the parties to pintar.aqui are the photos of the work done now, hope you like to see.

terça-feira, 19 de abril de 2016

Many people are wondering, how is my workshop, what tools I use and what materials I use to build my miniature coaches, I mean that my workshop is a small, simple garage, I have to take the car to the street to be able to work with some more space and convenience, as you can see in the images. the tools are the standard for the implementation of this type of work, a part of this tool is built for me in accordance with the requirements for the desired construction, minitorno is the most expensive tool piece that I have, it is essential for a better quality of work, I have seen some people with imagination and creativity using an ordinary drill with excellent results in any major shopping center you can find all the necessary tools to modeling in general. as miniberbequins saws, files, pliers, chisels, gouges, soldering iron, glue etc. etc. 
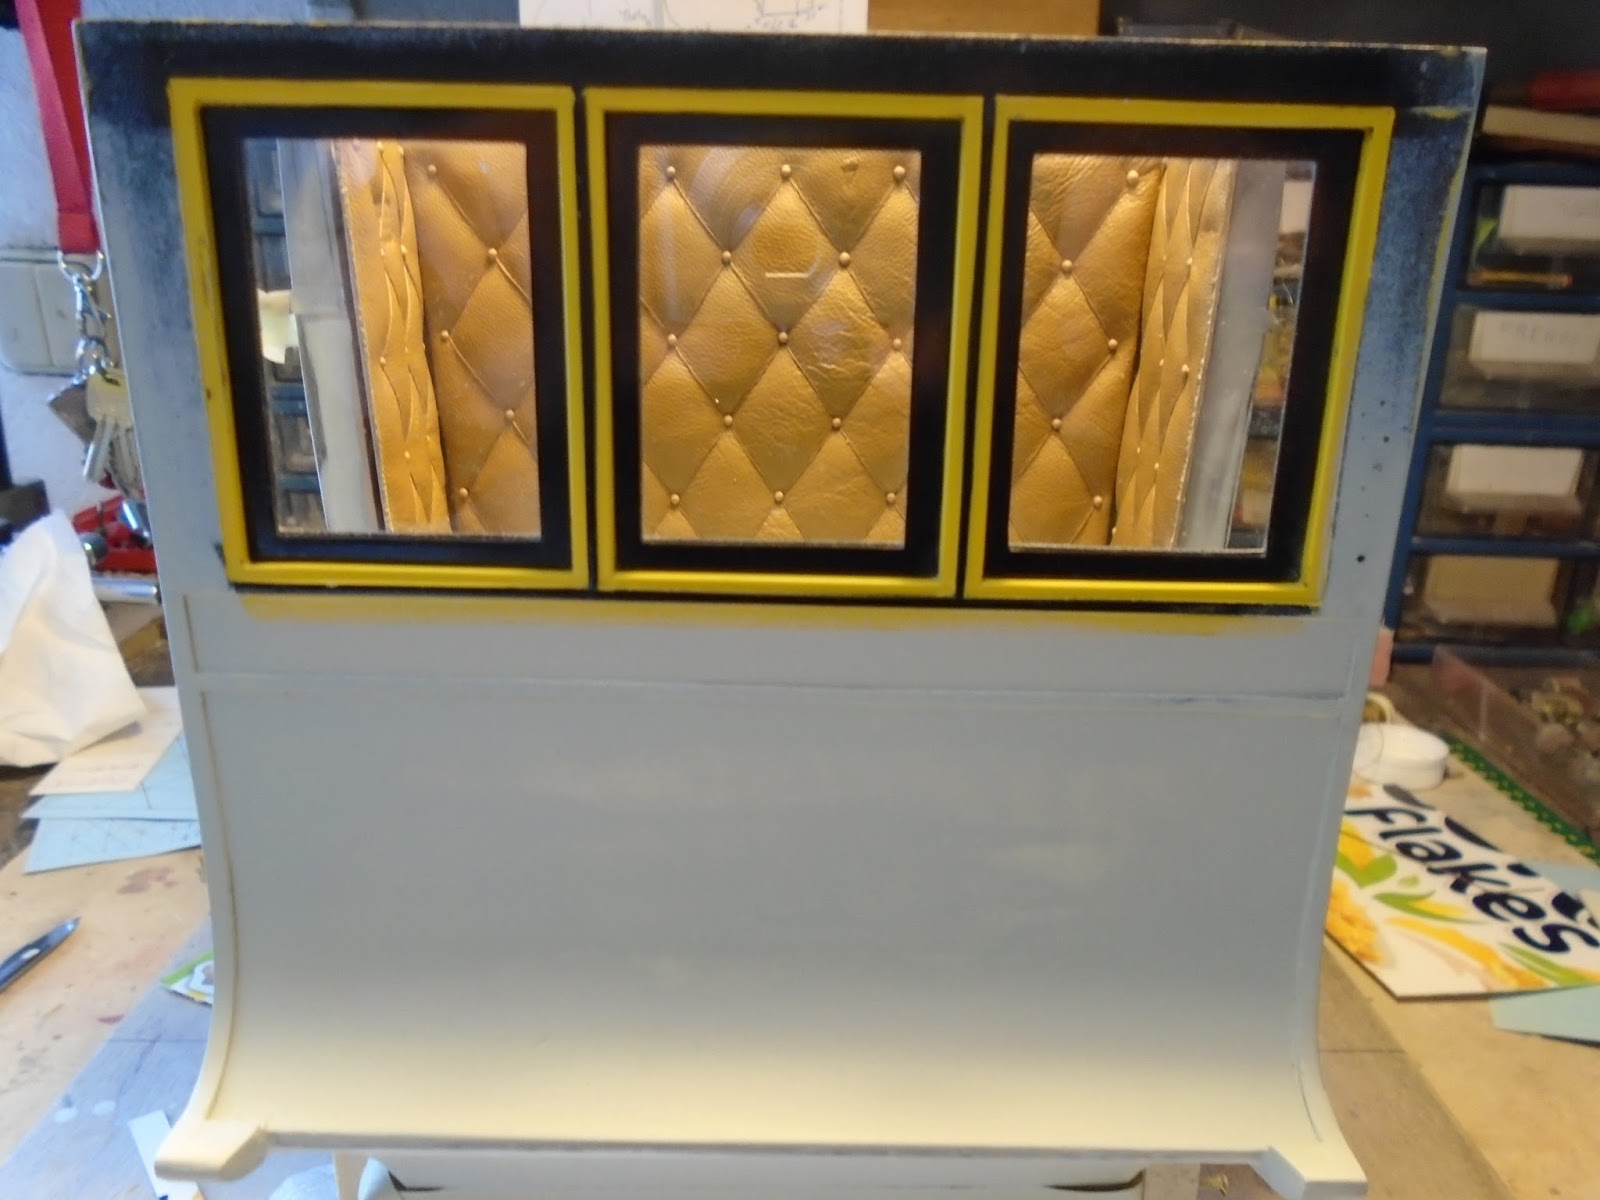
The materials used are many and varied, from various woods, plywood of various thicknesses, various fabrics, natural leather for lining interiors, various types of adhesives, paints, haberdashery materials, sheets and metal rods of various thicknesses, sheet gold and silver for gilding and silvering, etc etc. So here are some pictures of my workshop and some of my tools.

terça-feira, 5 de abril de 2016

After the entire structure fixed to the base, I'll start at the front compartment, ie the 2nd class compartment, the entire interior is lined and padded to natural skin capitone, this is a very peculiar work, I particularly like to run by grace and great beauty it gives the model after completion of this work are used various materials, as the basis for the skin fixation is plywood 0.60 mm 0.50 mm sponge, the material that mimics the French knots are heads of head pins painted with the color shown, the sponge is then cut X to give form shown, the seats are made more or less the same way, the base is lined timber with sponge and covered with the skin equal to the side. the seat is bordered wired twisted by me in my cordage thumbnail, this cord leads 12 line rows, with 4 per reel, the part of the front windows from the inside, they take a frame of wood mahogany varnished the bottom of the windows takes a padded panel also skin, the three front windows are fixed, although giving the idea of ​​opening and closing, will bring the strips pull the windows to give greater realism, a few more images of this progress I hope you like to see if they have any ac observation