sexta-feira, 17 de março de 2017

carruagem da mala-posta Nº 7

Given that many people have asked me to show here, more in promenor how do I do the padding of interior panels and seats, I want to say that this is a relatively simple and easy work to do, however, there are some points It is necessary to take into consideration, first point is to make the molds in paperboard, with the exact dimensions and drilling of the number of the materials are, 1mm plywood sponge 2mm, the skin is natural and thick, Thin, 1mm, the lines to crease the diamonds should be the hardest, polyester, to make the French knots is used crochet, the glue used is the fabric, gutermann brand, it is important to note that the skin only Is glued behind, and the drilling of the plywood, it is necessary to take into account that the thinner line 4 times through the hole and the crochet line to make the French knot 3 times, so the width of the hole must take into account these If the needle gets too tight, the knot will move to the other side, I use a 1.25mm drill bit.
I hope with this clarification to have answered, to the doubts and questions that have been put to me about this construction of the padding, the seats are made in the same principles also.
 Materials used in the construction of the panels.

First the carton blank from which the panel and upholstery are made.


 The sponge is cut to the lozenges, to give the deep relief effect.
 The panel is finished.
 The back of the panel, to see how the stitching is performed

 Some details of the interior of the carriage under test


 Details of the almost complete set of the front compartment of the carriage.
 The wheels have also been painted, as well as the cubes and strips painted on the rim

Here an interior view taken from the front door on the left.

domingo, 5 de março de 2017

As I mentioned in the previous article, I was going to begin the construction of the interior of the carriage, so I started with the back of the front seat, to test the various phases of the construction with the materials used, I also gave some more advances in the part of the pavement, Where the driver lays his feet, although this part will also only be completed after the cover is completed, taking advantage of the good days, I also gave a layer of paint on the panels to test the ideal color tone, plus some photos for better appreciation.

 This is the method I use for the seat backrests. A 1 mm sponge strip is glued to the buds to give the desired effect.
 Back already lined with genuine fur, ready to start making the French knots.
 Beginning of the construction of the French nodes

 Front seatrest already completed, and in place for adjustments.


 This is the material used to line the seats, the base of the seat is made of alder wood, the most suitable for this purpose, sponge 1 mm thick for the buds, rope, black to sew the skin and incarnate to the knots French.
 As you can see I took advantage of some good days to test the ideal paint color of the side panels, front and back, the black color as already tested, will be applied there for more final.

 Construction of the subway, where the driver puts his feet, this part is only completed after the cover placed.

sábado, 25 de fevereiro de 2017

Today I finished the construction of the top of the brake, despite this part of the brake that runs through the top of the carriage cover, so it will be fixed practically at the end of the construction, but I took advantage of the packaging in the brake construction and so this is already completed , Then make some adjustments and adjustments when mounted on the site, but easy. The next floor will be the construction of the upholstery of the seats and interior panels, everything will be lined with genuin leather, here I will show how this work is done. For now here are some photos of the end of the brake construction, I hope you like to see.


 Endless test set
 Crank and fixture bracket completed.
 The worm housing will be secured to the cover above the safe

 The upper brake assembly is finished, this part will be covered by a guard that covers the whole assembly.
 Some details of this construction.

sexta-feira, 10 de fevereiro de 2017

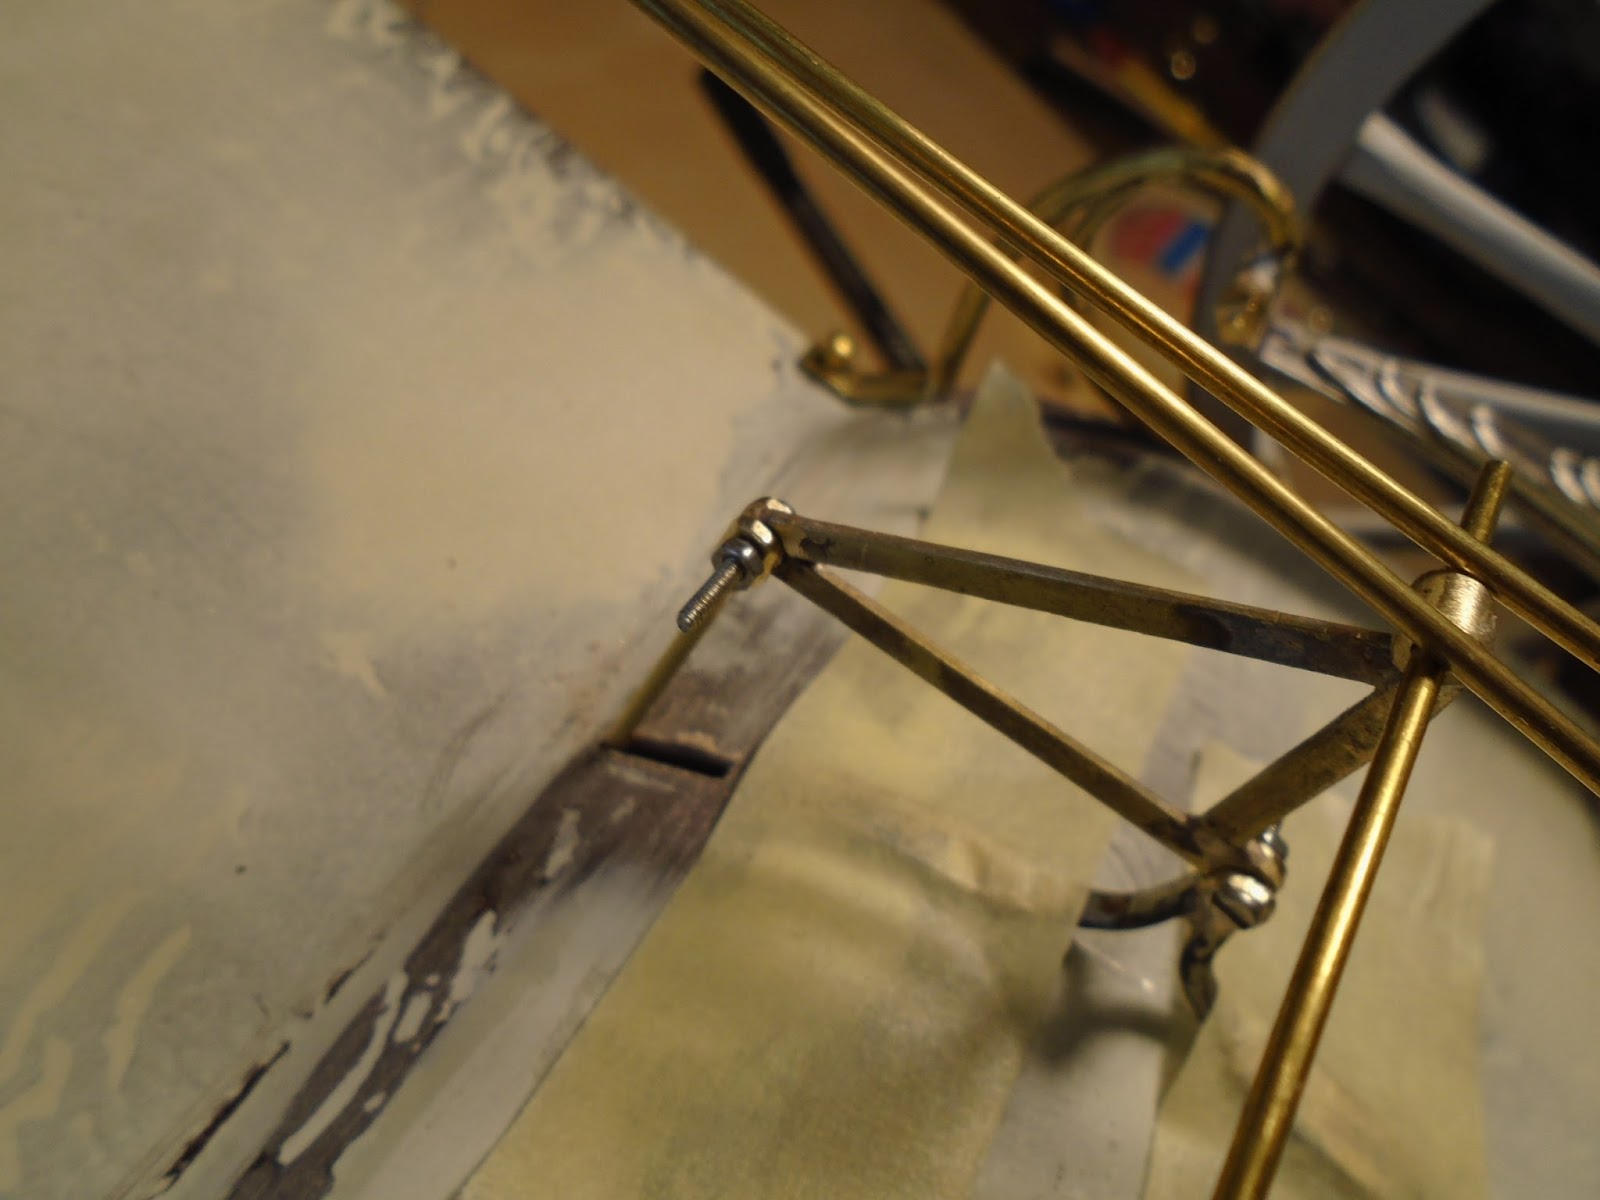
Continuing the construction of the brake system, in the images below it is possible to follow the progress of the brakes, in this case the construction of the rocker, which connects the brake bar tensioners to the brake drive crank. Since a part of the brake control works over the top of the carriage, and this is the last part to be made, this part of the brake will be suspended until there, however the chain and the control pulley are already started, the Pulley has a recess with the profile of the chain for sliding, do not become twisted, the chain is also already welded to the bar of the rocker. The photos for better understanding of this complex brake system, I hope you enjoy watching.


 Alignment of the rocker and tie rods to the brake rod

 The rocker consists of two parts one fixed and the other movable with 3 joints, the alignment and calibration of this part is very important for the proper operation of the brake contr
 Here the rocker is already fixed in place, and the rods of the brake rod are also already fixed and aligned on the site.
A first layer of primer has already been given to the rear fittings to protect these components


The chain sheave has a groove with the profile of the chain, so when the chain slides, do not curl

 The chain has already been welded to the control rod of the rocker,
As you can see this part of the brake control works over the top of the carriage, so it can only be terminated when it is placed, thus getting the brake finished for later.

sábado, 4 de fevereiro de 2017

Construction of folding steps, normally access to this type of vehicles only has 2 folding steps, but this carriage, as it is very high
She has 3 retractable steps which makes the construction a lot harder to do, as you can see the top skate is more than double that of the bottom skate, but today it's almost finished as you can see, I'm also working on the brake system, As you can see the joints and rods that connect the brake rod to the rocker are practically finished, but this whole system is still provisional since all these parts will work as in the real model, it is necessary to make several tests of operations and adjustments , Here are some photos for a better understanding of these moving parts.
 Rehearsal and tuning of the joints and tensioners of connection to the rocker

 Inverted view of the rods and rocker connection joints


Start of the fold-up steps

 Support for the construction of steps

 Cover and support of the steps when collected
 Testing of the steps at the fixation site

The steps all unfolded below all gathered inside the support